Blurred objects, defocused faces, grained images - do these things constantly bother you while taking photos at night? Well, night photography isn't easy, to say the least. It takes months, if not years, of practice and tinkering with the settings to take high-quality night photographs.
Pedro Oliveira, one of the most renowned traveling photographers in the world, featured in publications such as National Geographic and Vanity Fair, believes that night photography is more about getting the combinations in your camera right:
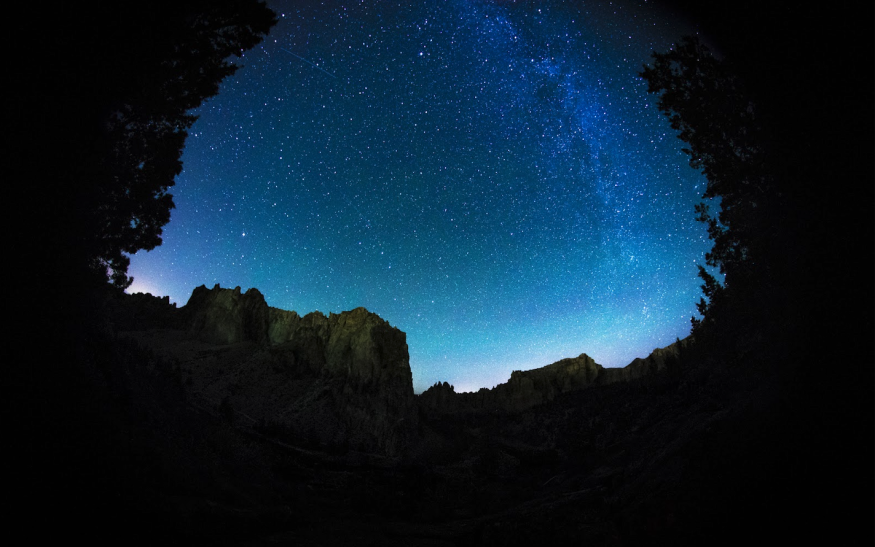
"You need to clearly understand which option works for what type of background. For example, a starry sky will require a different setting compared to a party with dim lights," He weighs in.
If you want to master the art of night photography, here are a few tips from Pedro that you should follow.
1. Use a tripod
When Pedro first started exploring night photography, he faced similar problems as you do now. Almost every image was out of focus and blurry. It was only when Pedro got himself a quality tripod that he started seeing improvement in his pictures. Your camera's shutter speed should be absolutely low at night. This means you must keep your hands still for at least 10 to 15 seconds--It is literally impossible for the human hands to hold still for that long. And that's why a tripod is essential.
2. Select ISO setting
If still you think your hands are steady enough to hold the camera and shoot, you should keep an eye on your ISO. A low ISO will make your image dark. On the other hand, if you keep a much higher ISO, the photos will have lots of grains. Pedro advises newbie photographers to hit the right combination of shutter speed and ISO. A moderate ISO is ideal for low shutter speeds, provided you use a tripod. For hand-held cameras, you may have to compensate for the ISO and use editing tools to get rid of the grains.
3. Open the shutter
Night photography is all about how long you keep the camera's shutter open. This allows more light to enter the lens. If you follow Pedro's tips, you should switch to Shutter Speed mode in your camera at night. Go down to 10 or even 20 seconds of shutter speed. Again, a tripod is a must here. Professional photographers even use remote control shutter for bulb mode. This allows them to leave the shutter open for a long period without getting a hazy image.
4. Adjust shutter speed
Not every object requires a slow shutter speed. For example, if you want to capture stars, you should keep the shutter speed as low as possible, such as 20 or even 30 seconds. But if you want to take portrait shots in low light, you can set the shutter speed to 2 seconds. That's enough for the lens to take as much light required for the portrait to look beautiful. Also, don't forget the ISO. With very low shutter speeds, you can keep a slightly low to moderate ISO but a relatively higher ISO for 2 to 5 seconds of shutter speed.
Night photography can be absolutely rewarding, as it is a quiet and soul elevating experience that generally involves you, your camera and nature/the subject.
These basic steps to night photography should come in handy especially if you want to capture the best pictures of nature at night.
© 2026 NatureWorldNews.com All rights reserved. Do not reproduce without permission.


